How to Scan Documents on an Android Phone
With a history spanning around 1,500 years, chess is one of the oldest continuously played games in the world. For almost all of that impressive history, human players were the uncontested champions of the game. All of that changed in 1985 when developers at Carnegie Mellon University began developing the Deep Blue supercomputer, a computer specifically designed to be good at chess.
In 1996, Deep Blue made history when it became the first computer to win a game against a chess grandmaster, and in 1997 it made history again when it beat the reigning world champion Garry Kasparov 3.5 to 2.5 in a 6-game match. 1996 was the first time a top computer beat a top human at chess, but it wouldn’t be the last time. In the intervening years, computers have thoroughly eclipsed human chess players. 2005 was the last time a human beat a top chess computer in a classic match format, and in the nearly two decades since then, computers have reigned supreme in the chess world.
Throughout the ‘90s and ‘80s, chess computers were highly specialized software and hardware machines that required teams of people to develop and maintain them. You can access even more computing power and specialized software in your pocket.

Today, more business occurs remotely, more purchases happen on mobile devices, and more professionals are turning to their Android phones to conduct business. This guide will help business users scan documents directly from their Android phones using FileCenter.
Key Takeaways:
- Obtaining a high-quality document scan is more complicated than simply taking a photograph.
- Scanned documents contain machine-readable text that looks as close as possible to the original document.
- FileCenter has powerful tools for editing and indexing scanned PDFs.
READ ALSO:
10 Best Paperless Document Management Software to Try in 2024
5 Best Document Management Software for Windows Users in 2024
Scanning vs. Photographing
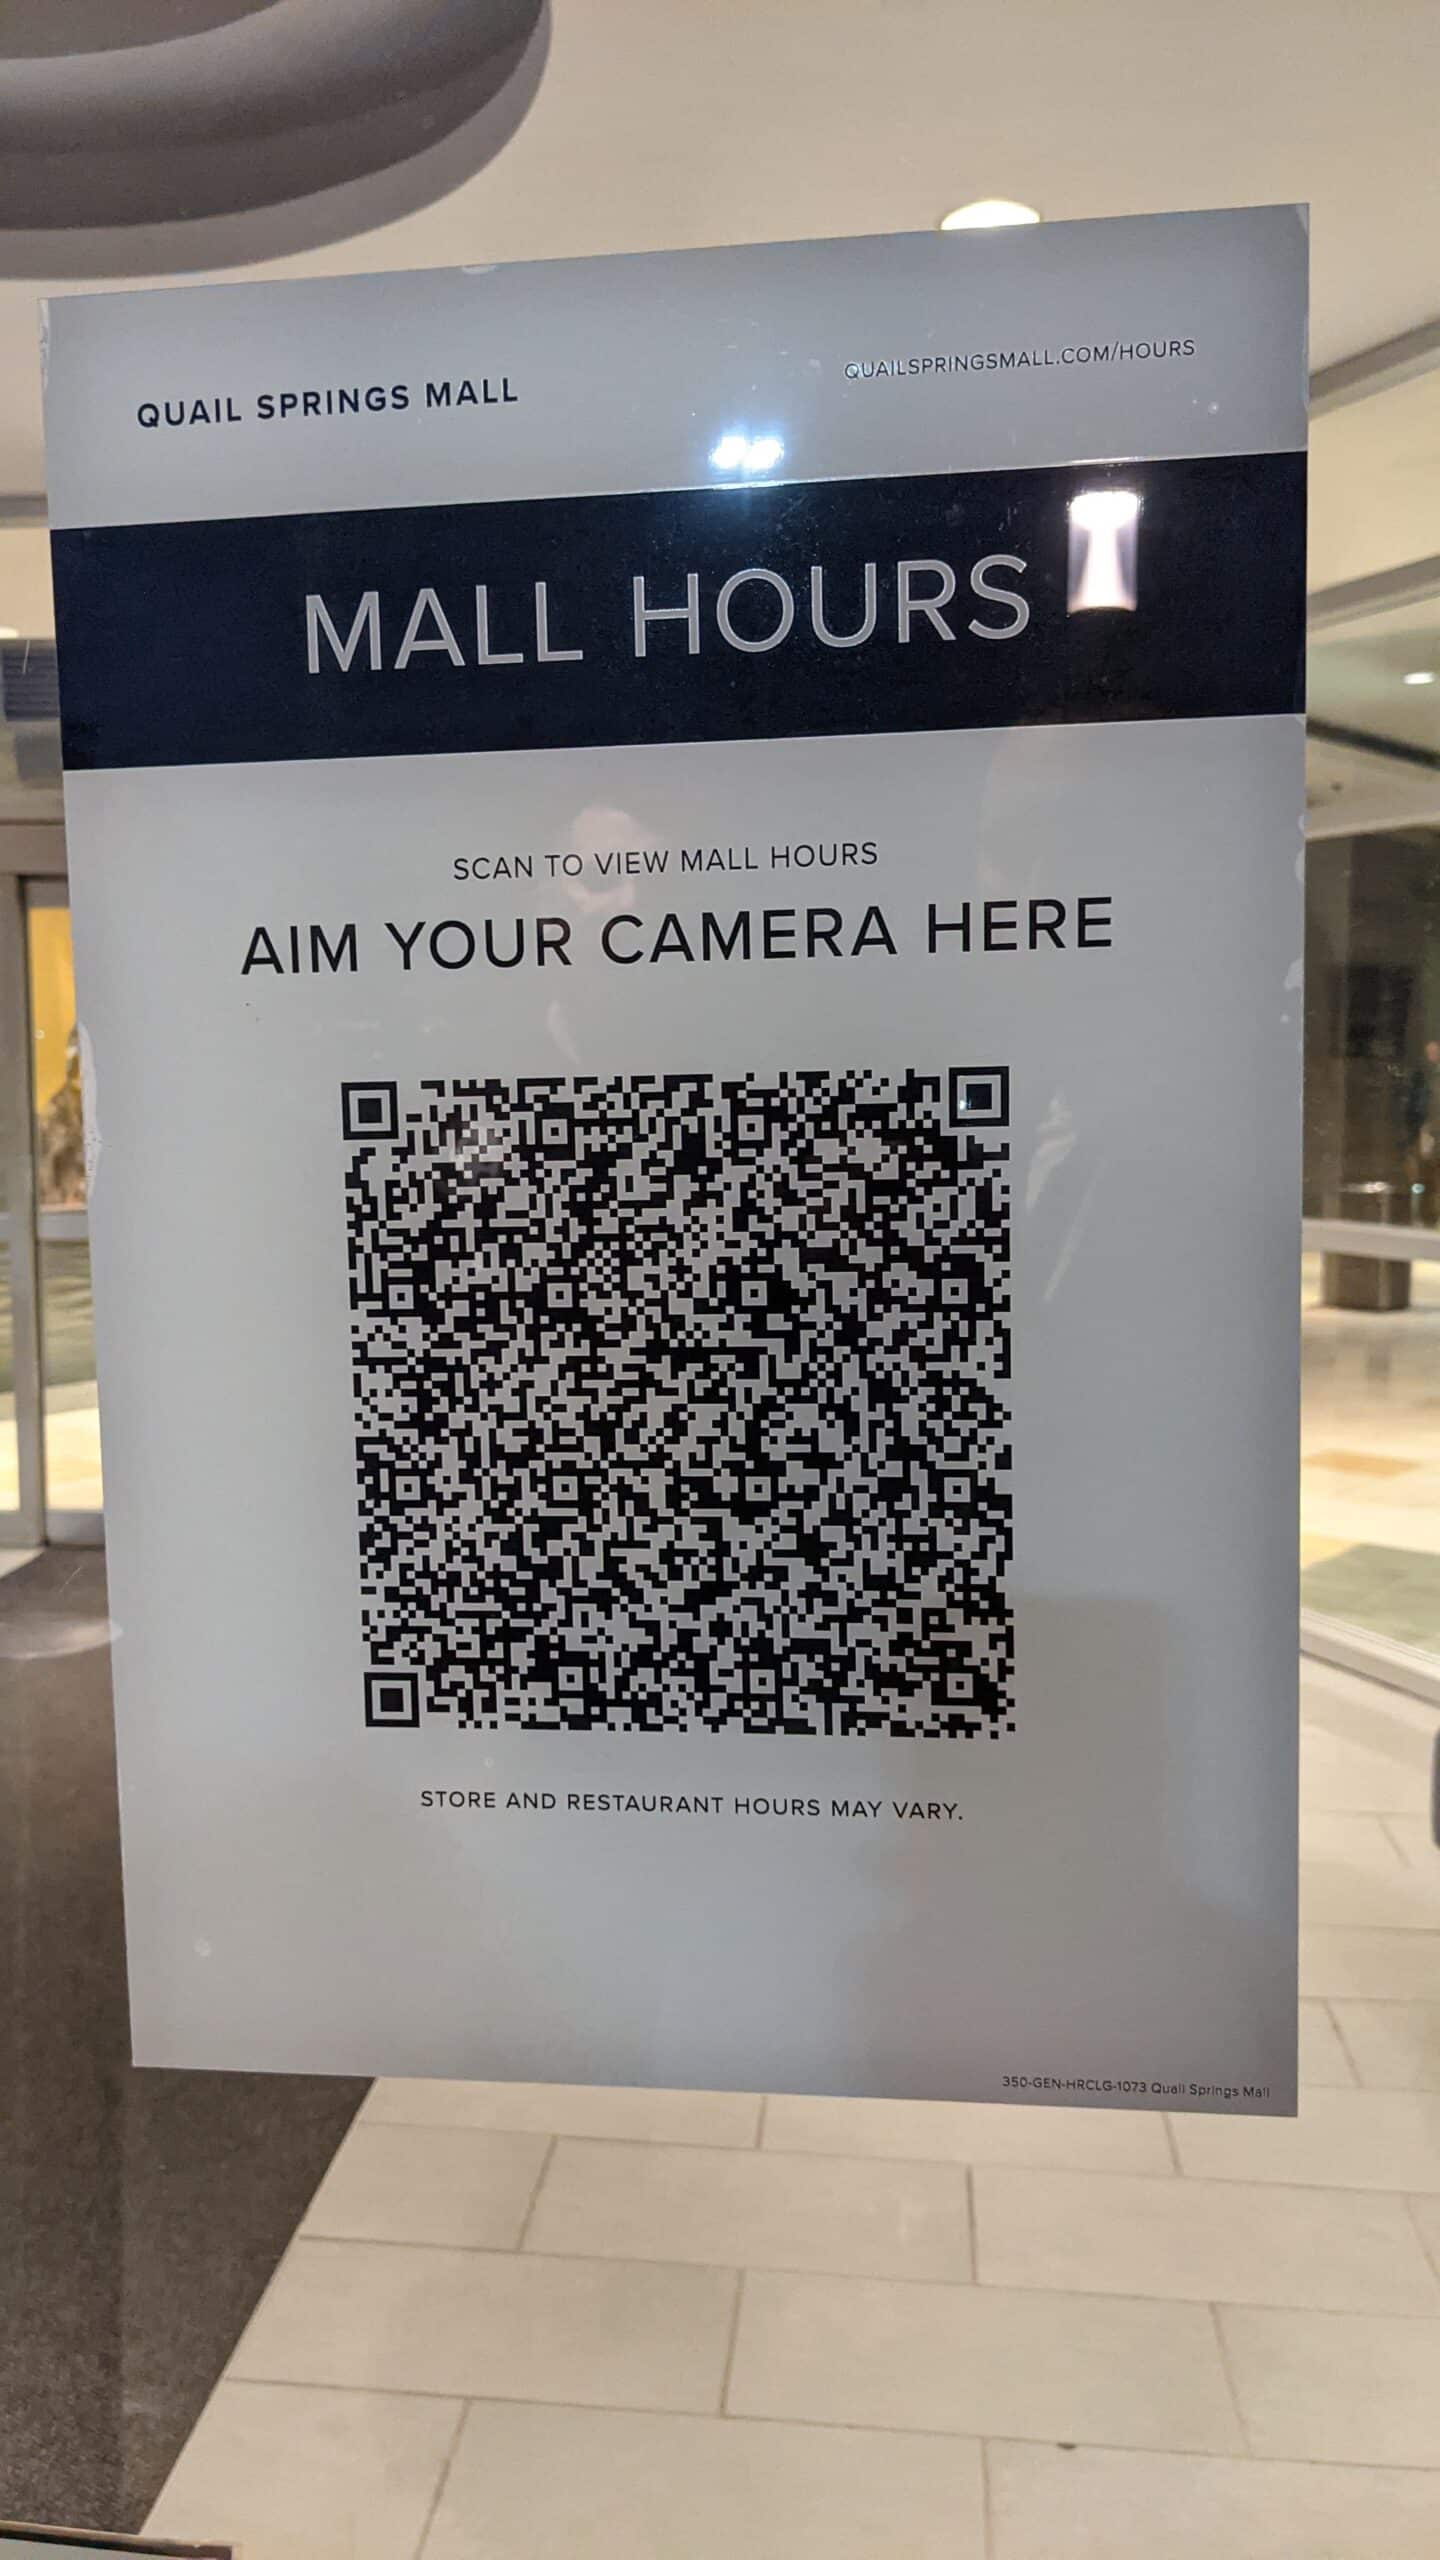
Every major cell phone model includes a built-in camera. Cell phone cameras are so ubiquitous that many restaurants use QR codes for menus, and some businesses even use them to display store hours. It’s easy to take for granted that everybody can access a camera and network connection. While this constant access to cameras has major advantages for business users, taking pictures of documents is not the same as scanning them.
Scanned documents typically use the .PDF file format, contain machine-readable text, have limited depth of field, and contain high contrast. You may have noticed this distinction if you’ve ever tried to take a picture of a printed photograph. Scanning a photo generates a digital image that looks nearly identical to the original photograph, while taking a picture of a photo results in a digital image that looks like a picture of a picture: the lighting is off, some parts of the photo will be in better focus than others, there may be shadows or glares from the room lighting, etc.
While this may be good enough for general consumers, it isn’t suitable for scanning business documents. Taking a picture of a document doesn’t just look less professional. It also sacrifices image integrity and quality and results in less useful documents that users can’t sort or search based on their contents.
Simply put, scanning a document results in a machine-readable document that looks nearly identical to the original, while photographing a document leaves behind the artifacts of a photograph like shadows, motion blur, textured lighting, margins outside the edges of the document, etc. Even using your phone’s built-in camera, it’s possible to obtain high-quality digital scans of your documents with the help of FileCenter.
Scanning Documents on Your Android Phone:
As the business world continues its digital revolution, many Android phones include a built-in scanning feature. For phones that don’t include this feature automatically, the Google Drive app includes options for scanning documents.
Step 1: Document Preparation
Set yourself up for success by placing the document on a flat, well-lit surface to get the best results. Something like a dark-colored table or desk is perfect for scanning documents. A light-colored surface will work, but it makes it harder to find the edges where the paper ends, and the surface begins.
Avoid rooms with harsh lighting that can leave glares on the page, as well as rooms with strong overhead lighting that will leave unavoidable shadows on the page. While you can mitigate some of these issues through photo editing, it’s always best to fix issues before they arise.
Step 2: Photograph and Crop the Document
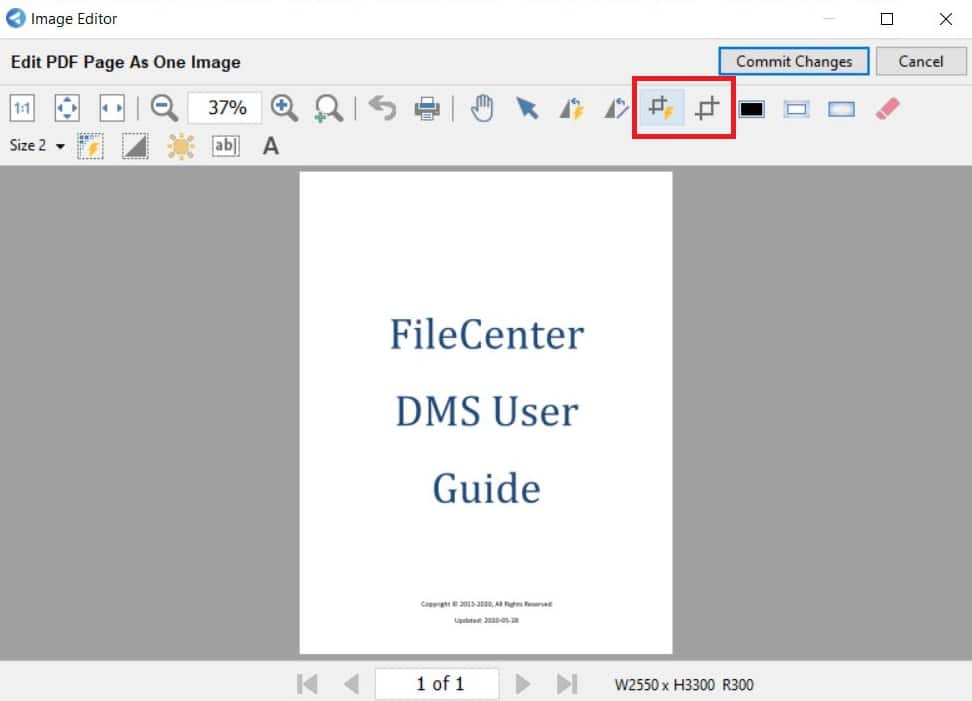
Once you’ve set up the ideal environment for scanning your document, take the picture and crop it around the borders of the page. This is one of the key differences between a scan and a photograph: a photograph will include everything in front of the camera lens, usually at a pre-determined aspect ratio, while a scanned file will only include the document itself at as close to the original size of the document as possible.You can accomplish this in Google Drive by dragging the corners of the crop tool around the page of the document, or you can accomplish this within FileCenter by opening the image in the Edit tab, clicking the “Edit Page” icon, and cropping the document directly from the menu. FileCenter offers both a standard crop tool as well as an auto crop tool that dynamically crops the page based on its contents.
Step 3: Optical Character Recognition
Another key distinction between a photograph and a scanned document is that scanned documents are machine-readable, which means document management software like FileCenter can sort and automate processes based on the contents of your document.
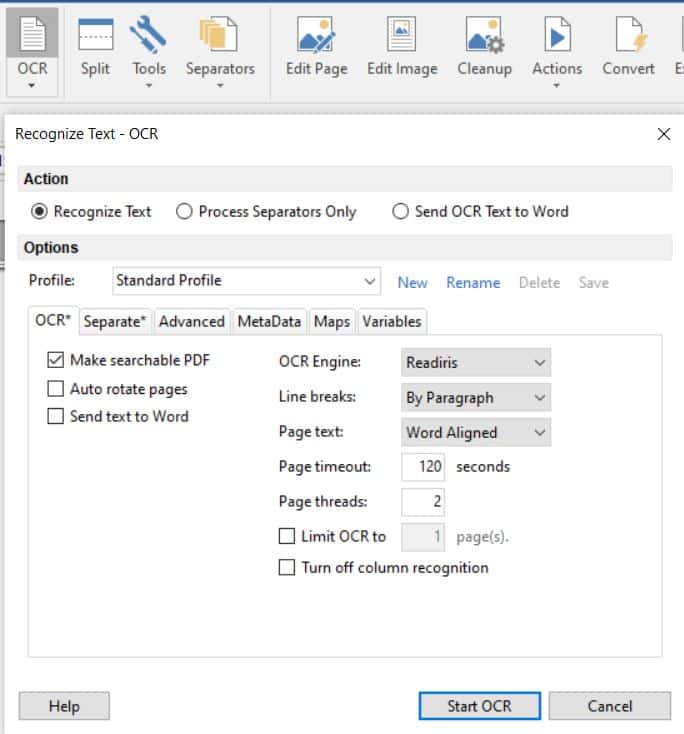
FileCenter uses Optical Character Recognition to “read” the printed text on a page and convert the images of words into digital text. This allows you to edit the text on the page, change fonts, automatically route documents based on their content, and more.
To do this in FileCenter, open the image in the Edit tab, and select the OCR book from the Edit toolbar. This will open the OCR menu, where you can select from several options for how it lays out pages, inserts line breaks, and how many pages you’d like it to convert.
Document Management Software
With advanced document management software like FileCenter, scanning documents from Android phones is easier than ever.
Image scanning and OCR are just a few tools business professionals should be familiar with. FileCenter is packed with tools to edit, store, convert, index, search, share, scan, annotate, and access documents, making it an essential tool for modern businesspeople.
To learn how FileCenter can revolutionize your document management, download a free trial or schedule a demo today.
