How to Scan Documents on Your iPhone
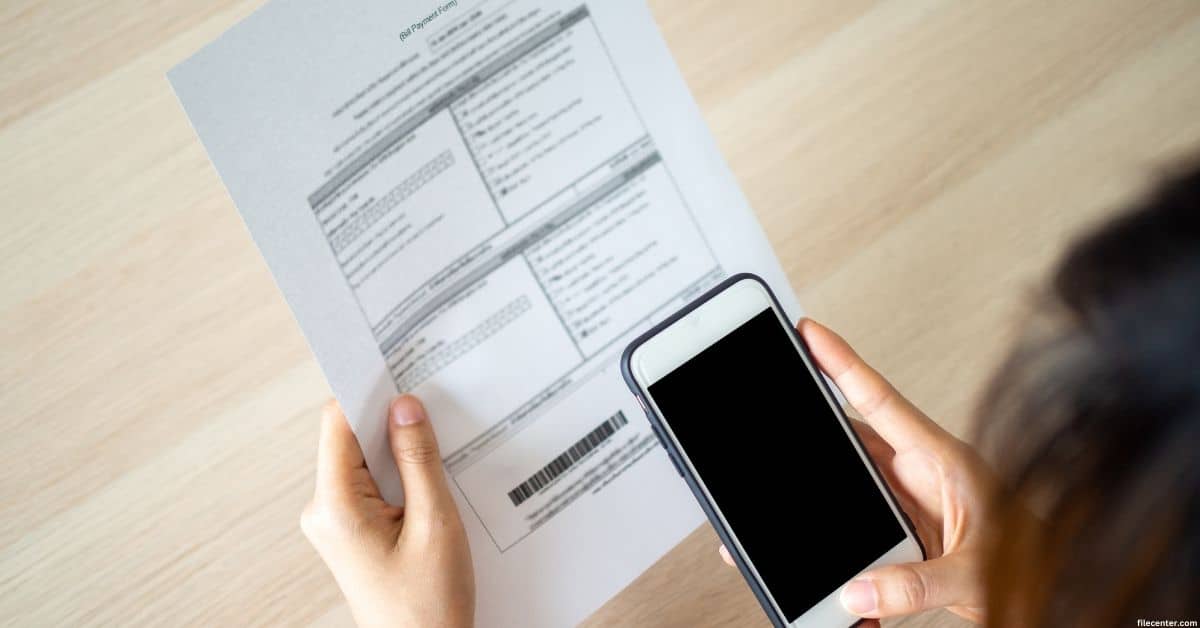
Digitizing paperwork no longer requires a clunky scanner. Learning how to scan documents on your iPhone will enable you to scan, upload, and manage important files, even when working outside the office.
With advanced document management software like FileCenter, scanning documents using your iPhone is easier than ever. Here are some steps to help you complete this essential task.
Key Takeaways:

- Turn your iPhone into a scanner with an Adobe Scan app or use the functions available with the internal camera.
- Crop edges and ensure the image fits into the margins, then download the FileCenter App to your phone.
- Install FileCenter onto your PC or MacBook. Store files in your FileCenter account using a Cloud-based storage platform (i.e., Google Drive).
- Select the recommended settings to ensure optimal image capture.
Steps on How to Scan Documents from Your iPhone to FileCenter
Get everything from the video above from the convenience of your iPhone or Apple device. Similar to the steps in scan documents on an Android phone, you can use your iPhone to scan and upload documents to your FileCenter account using the following steps:
READ ALSO:
10 Best Document Management Software for Small Businesses in 2024
10 Best Document Scanning Software for Windows 10 Users in 2024
1. Turn Your iPhone into a Scanner
First, you will want to convert your file into a high-quality PDF file using your iPhone. A mobile scanner app, like Adobe Scan, will allow you to quickly and easier turn images into PDF scans. It is a straightforward process to scan documents using a mobile scanning app. Just follow these steps:
- Install Adobe Scan (or a similar app) from the Apple App Store
- Launch the application and sign up (or login)
- Using the slider under the camera icon, select the document type you’ll be scanning
- Point the phone’s camera to the document (the app will automatically identify the sides of the document)
- Click Keep Scanning for additional pages
- Tap Adjust to tweak the brightness, crop and reorder pages, mark up and clean documents, and more
- Name and save the scanned document as a new PDF file
2. Scan Document to Your iPhone
You can use the phone’s internal scan feature to scan a document without a scanning app. These steps are the ones Apple Support recommends:
- Open Notes and create a new note (or select an existing one)
- Click the Camera button and tap Scan Documents
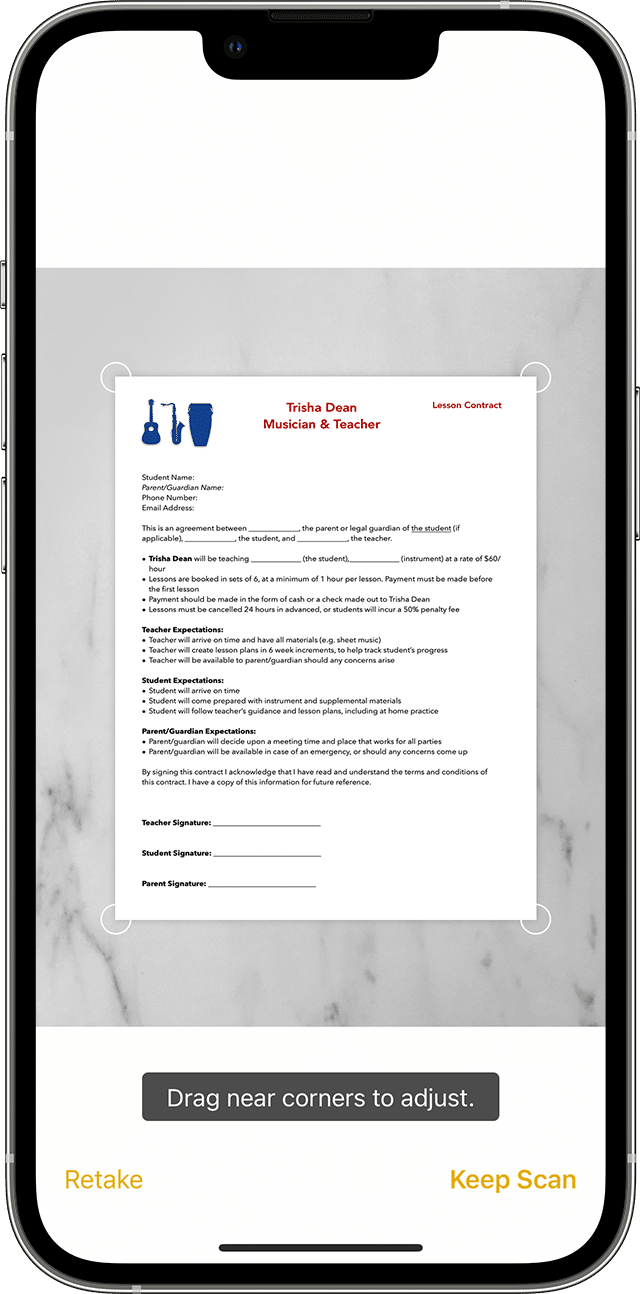
- Position the document in the camera’s view, confirming a clear capture
- If Auto Mode is enabled on your device, your document will scan automatically. For manual scanning capture, click the Shutter button on our camera (or one of the Volume buttons)
- Drag the corners to adjust the scan
- Tap Keep Scan
- Click Save
If you have additional documents to scan, repeat these steps and save them to your device in a folder you can locate. Learn more about using the Continuity Camera for scanning notes from your iPhone, iPad, Mac, or PC.
3. Signing the Document
If you need to sign the document, you can use an Apple Pencil with a compatible iPad or your finger on your device to manually sign your documents.
4. Transfer the Scan to Your PC
Transfer the scanned image to your PC just like you would any other photo. Once on your PC, you can cut or copy the scan then paste it anywhere in your FileCenter cabinets.
Scan and Secure Files Using Your iPhone with FileCenter
Edit, convert, index, store, share, scan, search, annotate, and access documents while working on the go with your iPhone or other mobile Mac device. Scan important documents and upload them to your FileCenter account using your iPhone and the FileCenter Portal app.

Revolutionize your document management with FileCenter scanning software. Download a free trial or schedule a demo today.
